Login using access code
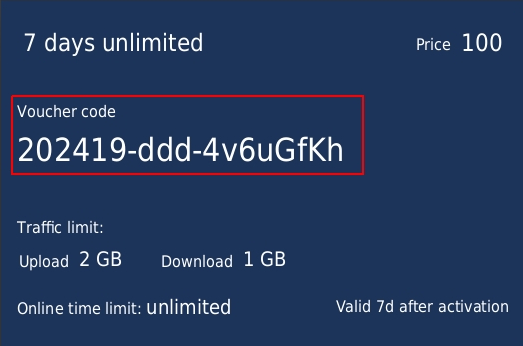
In Powerlynx, an internal voucher functions like an access card, generated by the system to grant users network access under specific conditions. Each voucher contains detailed information about its validity, traffic limits, online time limits, and the maximum number of devices that can connect using it. It inherits the data plan settings (validity, speed limits, traffic limits, time online limits, etc). Please follow this link to learn more about vouchers in Powerlynx.
Generally, for the end user to log in, they need to choose a data plan and pay for access using Payment Gateways such as Stripe, PayPal, PayFast and Netcash. However, it's also possible to sell printed vouchers generated in Powerlynx and enable your customers to log in using the access code provided.
To allow customers to log in using an access code, you need to follow these steps:
- Manually generate vouchers for specific location (required).
- Export and print vouchers (optional).
- Enable "Login using voucher code" for specific location (required).
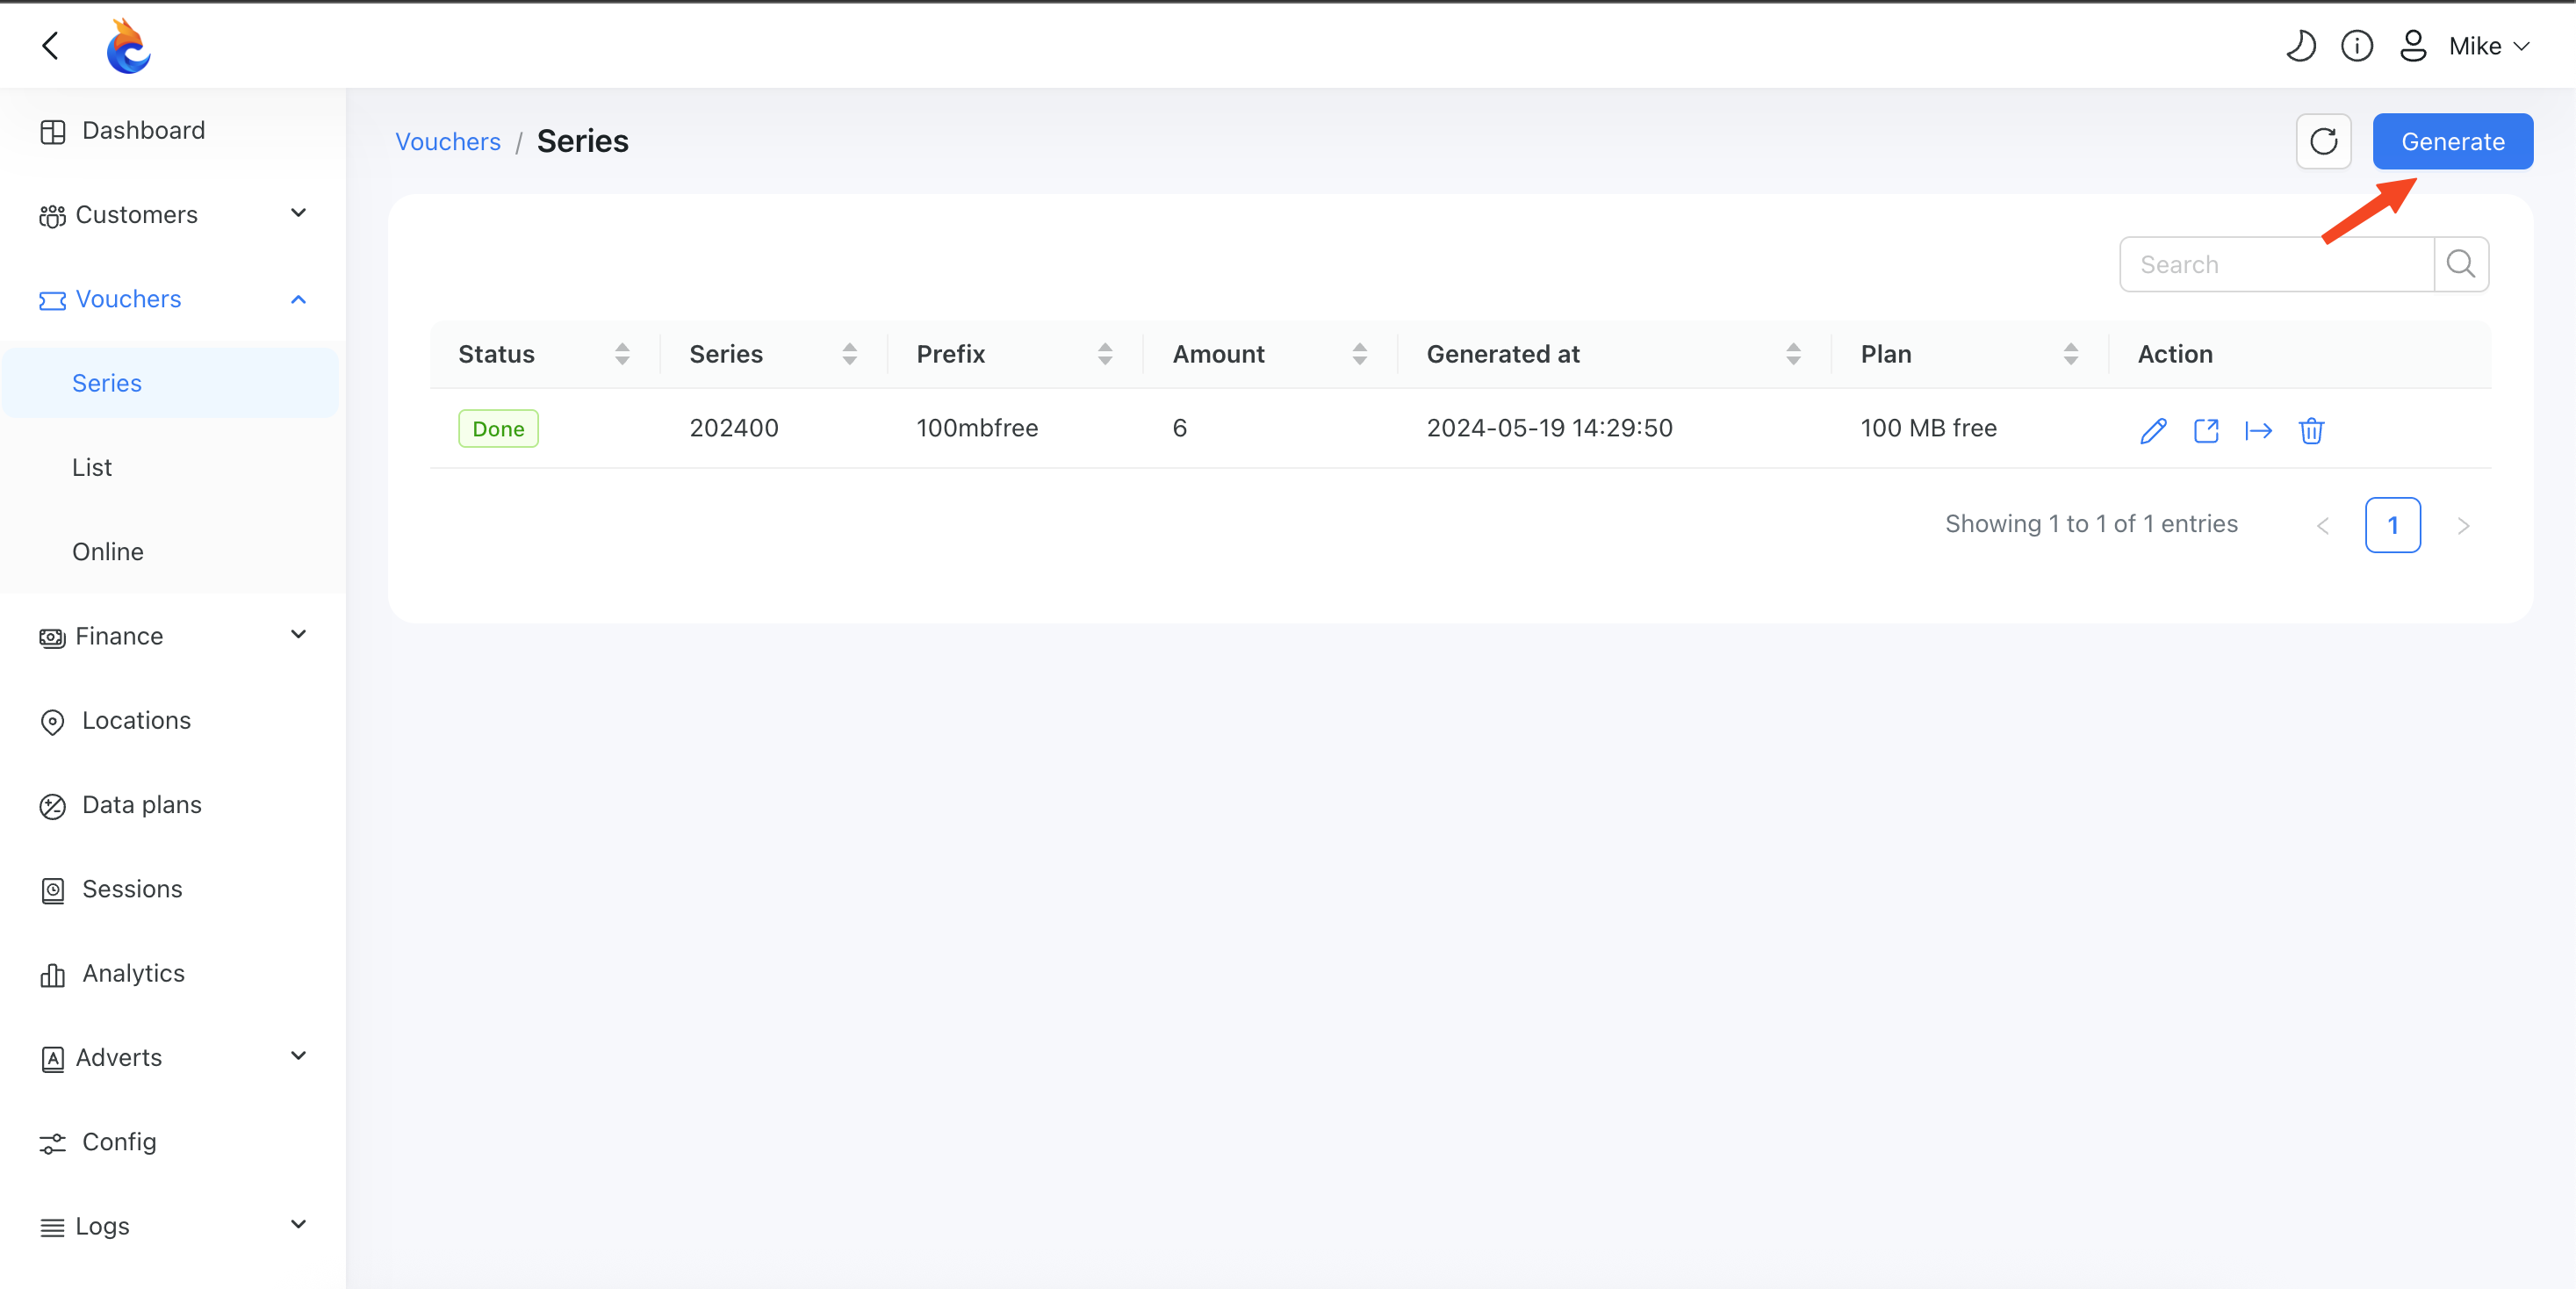
Generating Vouchers
For creating vouchers, go to Vouchers/Series/Generate.
Here, you need to set how many vouchers you want to create, which data plan to use, and the validity period for these vouchers:
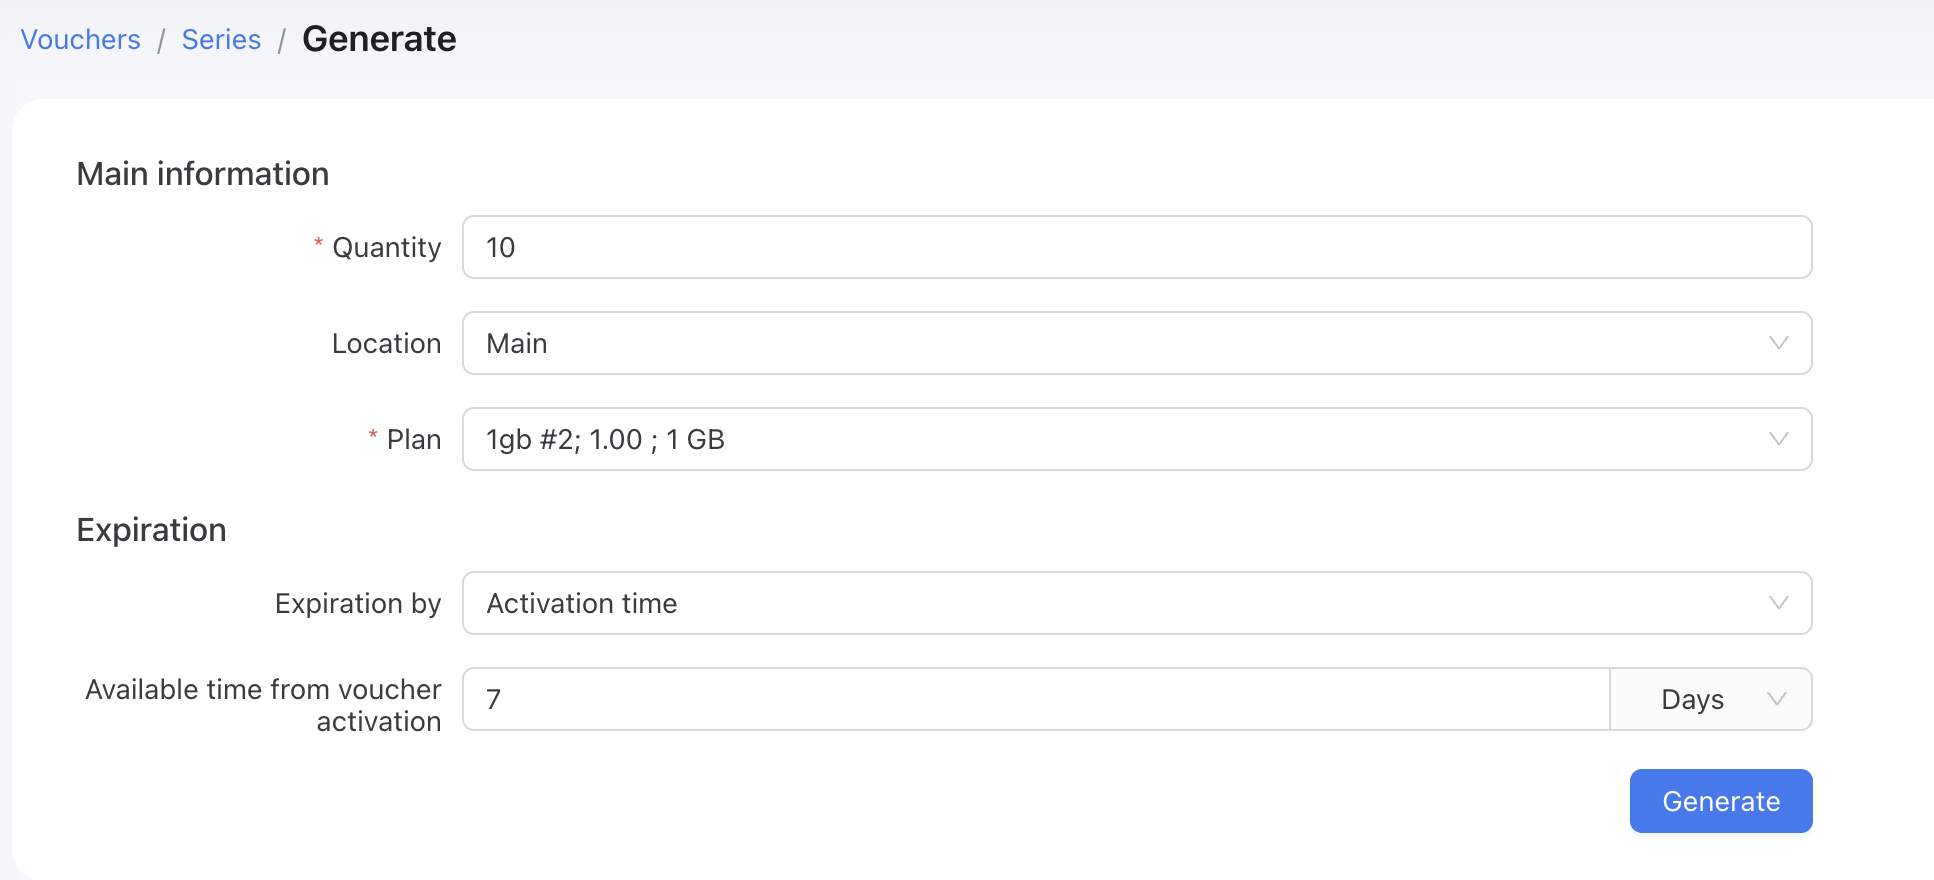
- Quantity - total number of vouchers to generate;
- Location - Choose the specific location where these vouchers will be used. Please note that vouchers generated using this method will only be available at the selected location.;
- Plan - Select a data plan. The generated vouchers will inherit the settings of the chosen plan, such as usage limits, online time limits, number of simultaneous devices, and more.;
- Expiration by - two options are available:
Valid untilandActivation time.Valid until- requires you to set a date by which the vouchers must be used. If they are not activated before this date, they will be deactivated automatically.Activation time- defines the validity period starting from the moment the voucher is activated. This means the voucher can be activated even months after creation, and its expiration period will only begin at the time of activation.
Export and print
You can export generated series and then print. More detailed information about exporting series follow this link.
In this example, we export series in PDF using Dark theme, where we can check the result before printing vouchers.

Also in Powerlynx there are several voucher settings that can be modified. More detailed information about these configs follow this link. You can find these under Config/Finance/Main:
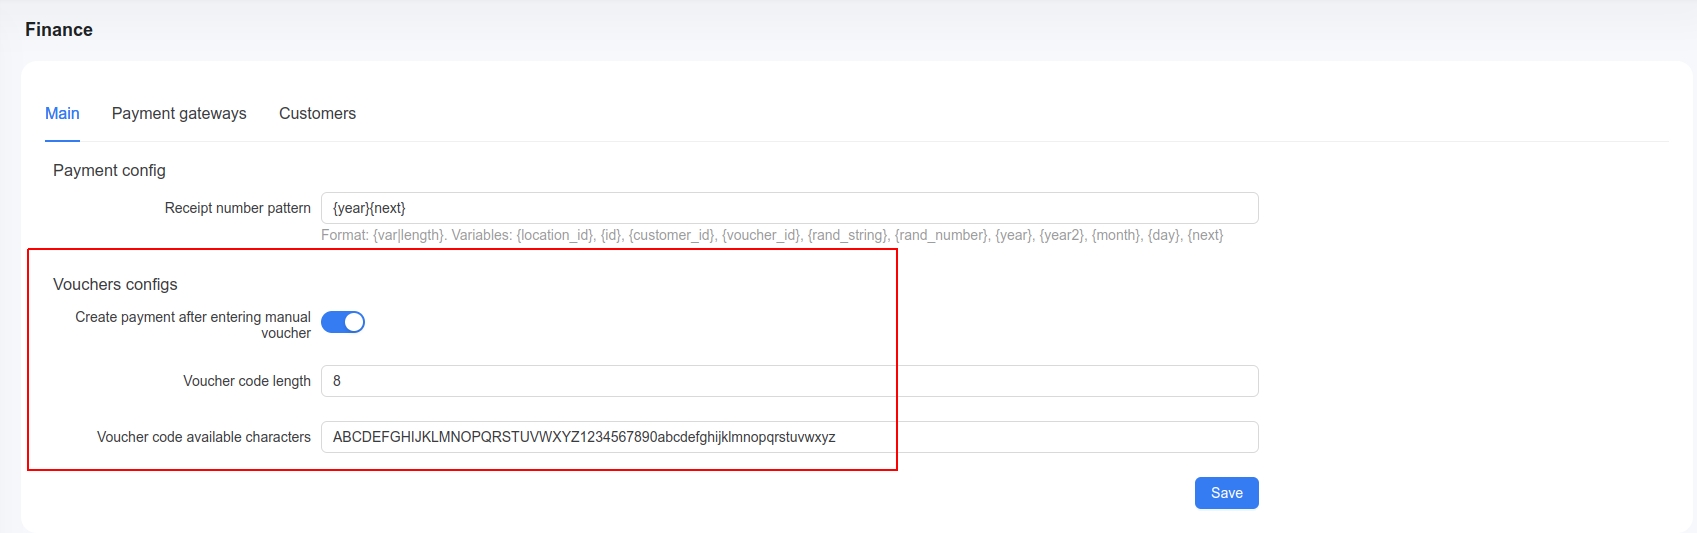
In this case we want to create payment after entering manual voucher, define the length of voucher's code as "8" and chose the default set of characters to be used in generating a voucher's code. Of course you can modified these values as like as you want.
To check payments after activating voucher you can go to Finance/Payment records or Finance/Payments.
Enable "Access code" method for specific Location
As we generated vouchers for specific location we must to enable Access code method in this location.
Navigate to your location settings and open the Payment gateways tab and enable Access code.

Configure Walled Garden
Another crucial step is to configure the allow list of hosts on your hotspot. For instance, if you've connected a Mikrotik hotspot using this manual, now you need to add a list of allowed hosts related to Powerlynx. This allows your customers to be redirected to your Powerlynx page without accessing the rest of the internet. You can find more about Mikrotik Walled Garden here.
To do this, you should access your router (in my case, Mikrotik), open the Terminal, and run this command with the list of hosts you wish to allow:
add dst-host=*.digitaloceanspaces.com
add dst-host=*.powerlynx.app
add dst-host=*.digitaloceanspaces.com
add dst-host=*.powerlynx.appYou can use either *.powerlynx.app or your specific Powerlynx domain (yourpowerlynxdomain.powerlynx.app).
It might be useful to visit our forum, especially this topic, to discuss all questions related to the walled garden.
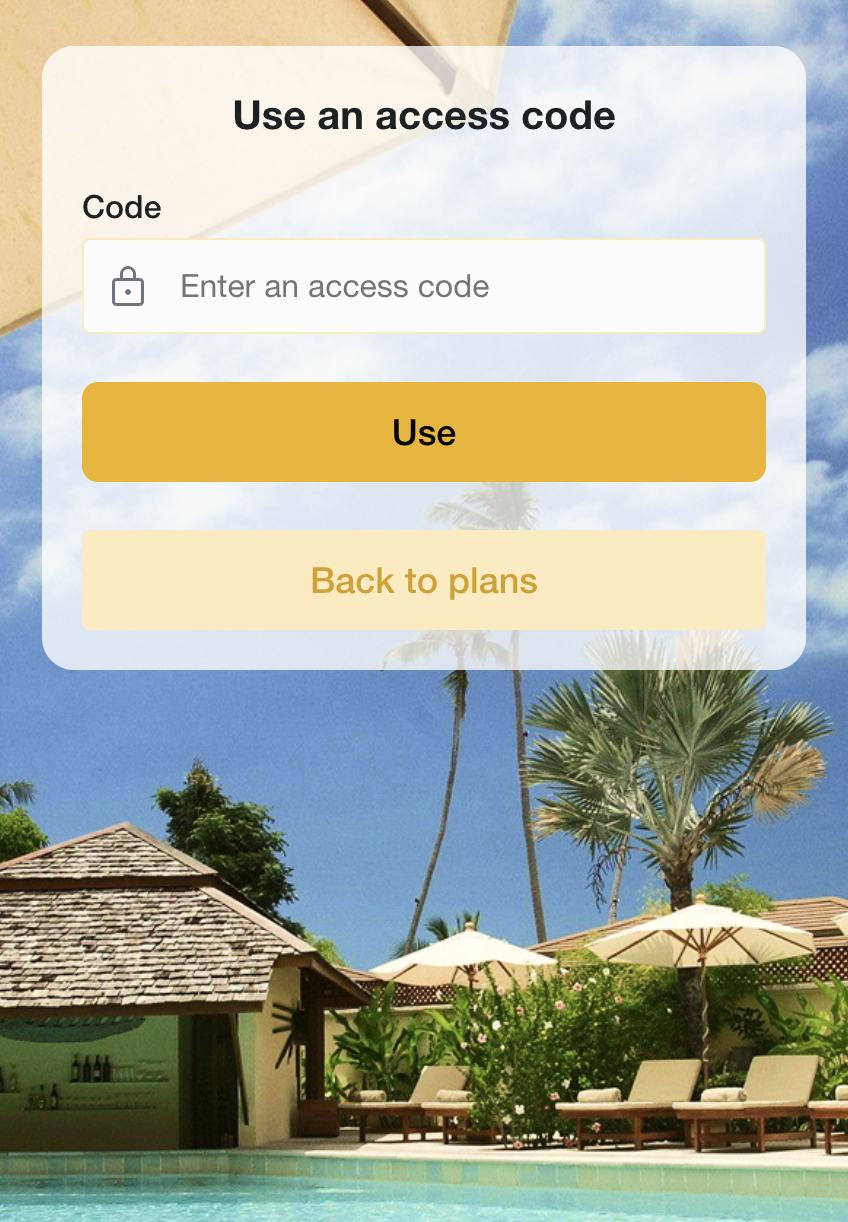
Login using access code
Now, after all this steps your customers can login to the hotspot using access code. To achieve this customers must use full voucher's code. Your customers can find it on exported voucher or you can send this code to your customers.
Click on button "Use".
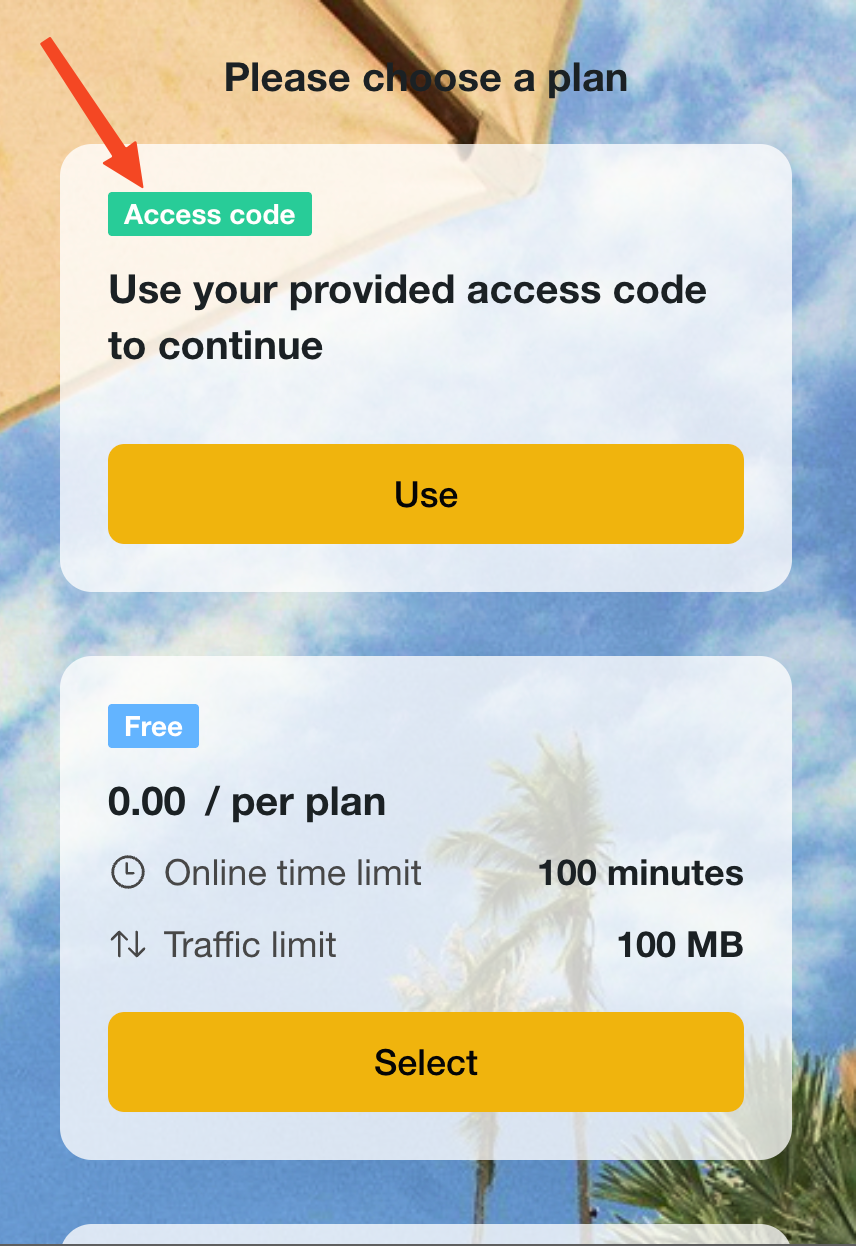
And then enter the full code from the voucher into the Code section.