Adverts
This module is a vital component of our system, aimed at boosting user engagement by presenting video and image ads to end users once they connect to the Wi-Fi network. The Adverts module provides advertisers with a distinctive opportunity to effectively reach their target audience and track the number of times an ad is displayed to customers. Within this documentation, you'll discover comprehensive guidance on setting up and managing ad campaigns, analyzing performance metrics, and optimizing ad delivery to maximize impact.
Create an ad campaign
To create an ad campaign navigate to the Adverts module and click the "Add" button:
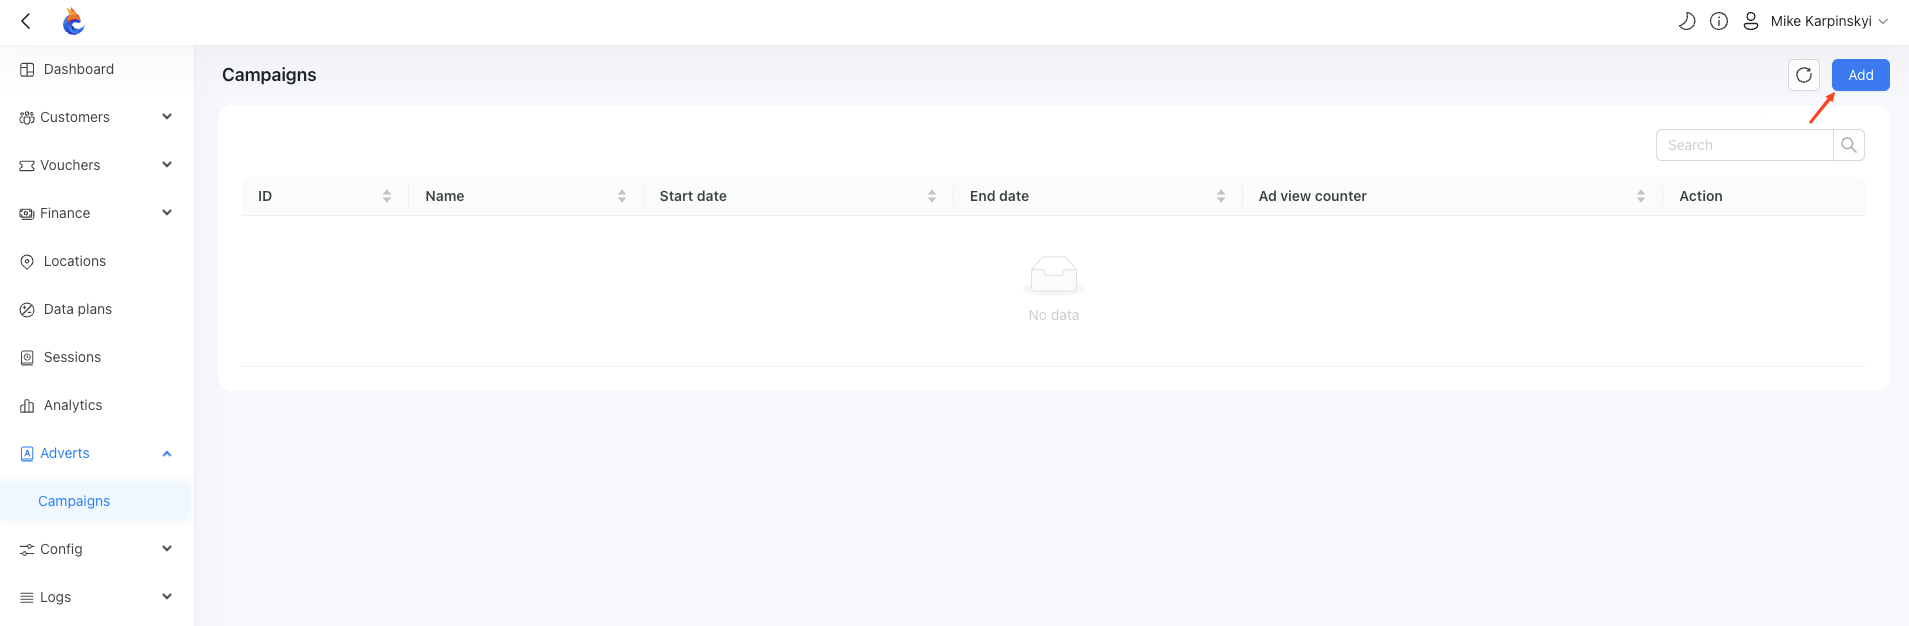
This action will open a form where you can configure your campaign:
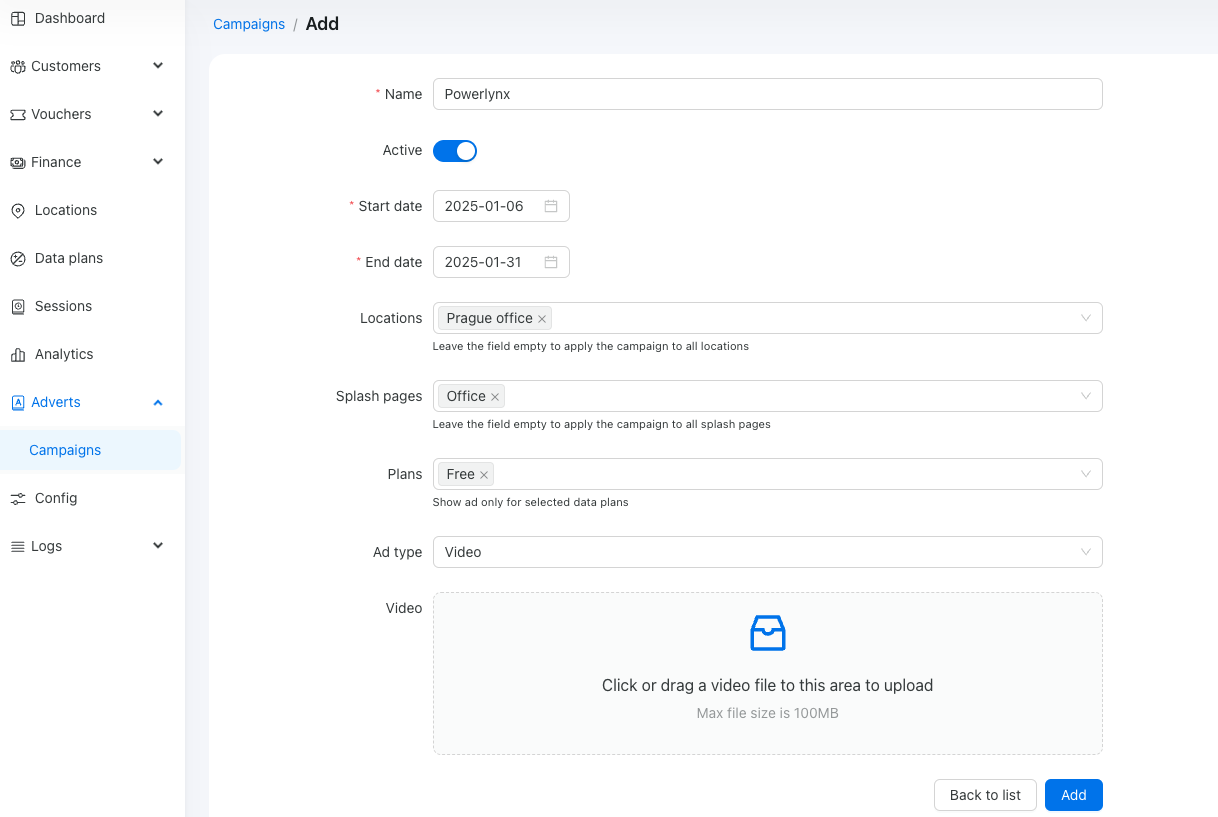
In this example, we created the “Powerlynx” ad campaign, active from 2025-01-06 to 2025-01-31, at the location called “Prague office” and the splash page called “Office,” limited to the plan named “Free.” The ad type is video, and you can upload a file up to 100 MB in size, with no restrictions on file extension. Here, we’re using an .MP4 video.
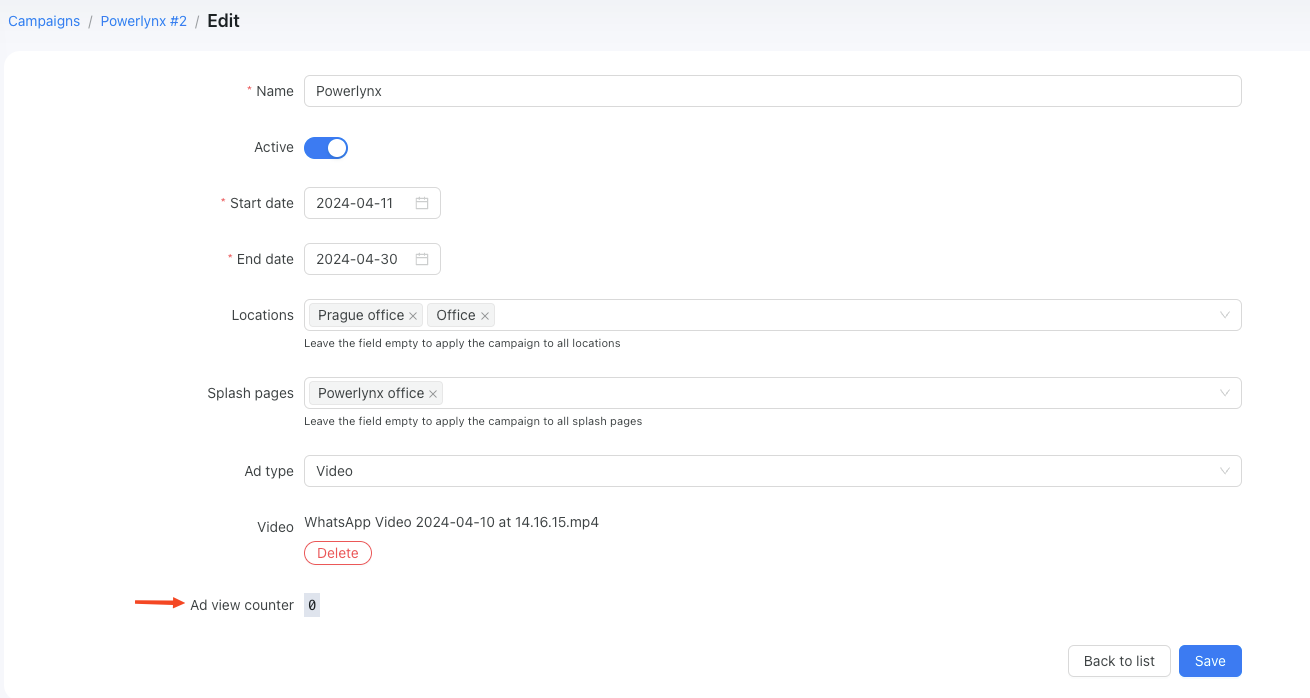
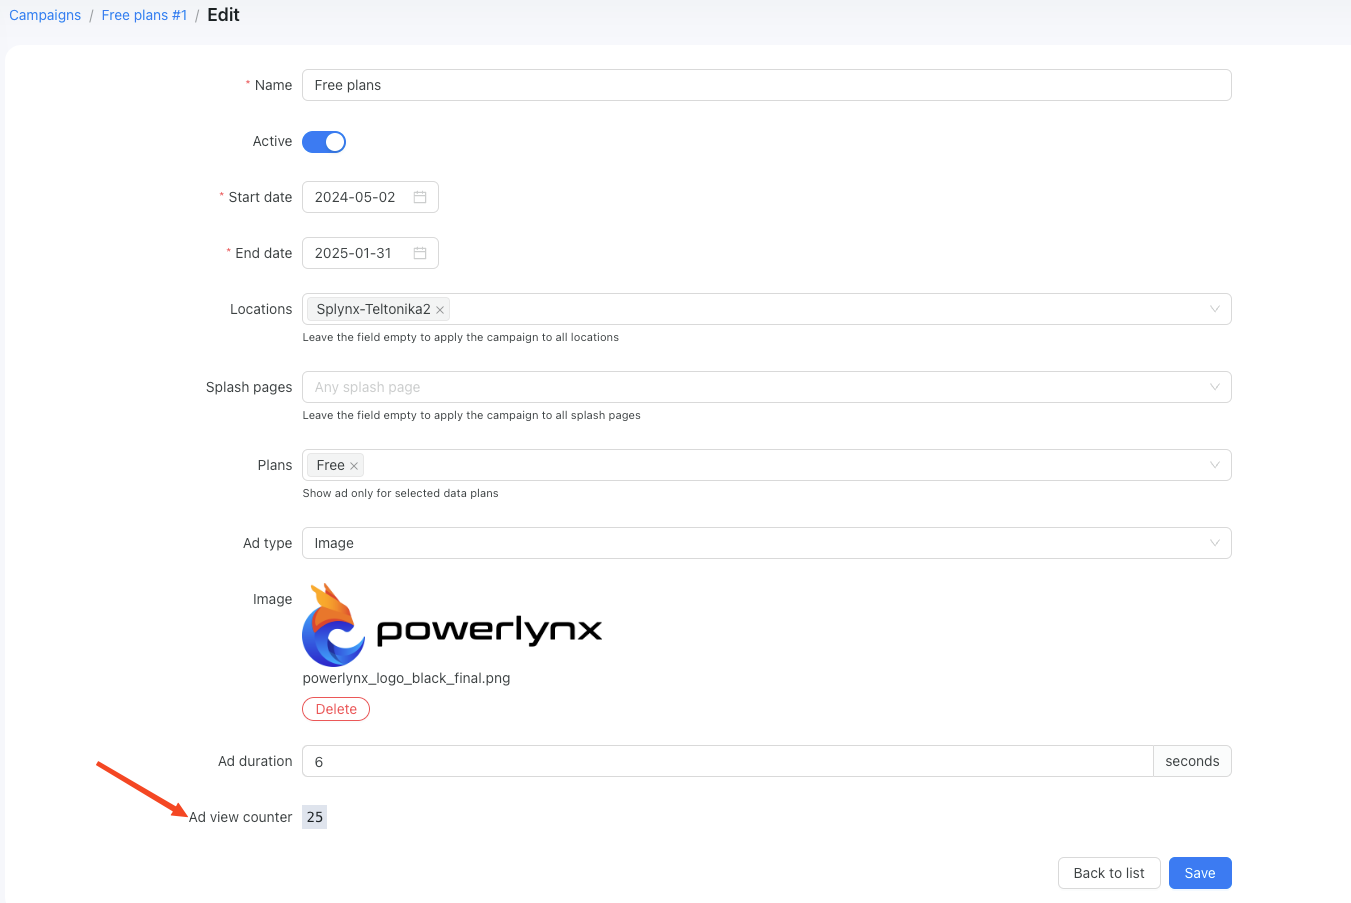
Once created, you will see the parameters that can be modified and the uploaded video. You may also notice a new field called 'Ad view counter,' which displays the number of views for this specific ad:
Let's see what the user see after the connecting to a WiFi:

As you can see, the video ad was displayed to the customer after selecting a plan, with no option to skip it. The customer must watch the video in its entirety to gain access to the internet.
If you want to add an image ad, you'll need to set up the ad duration in seconds. This option determines how many seconds the image will be displayed:
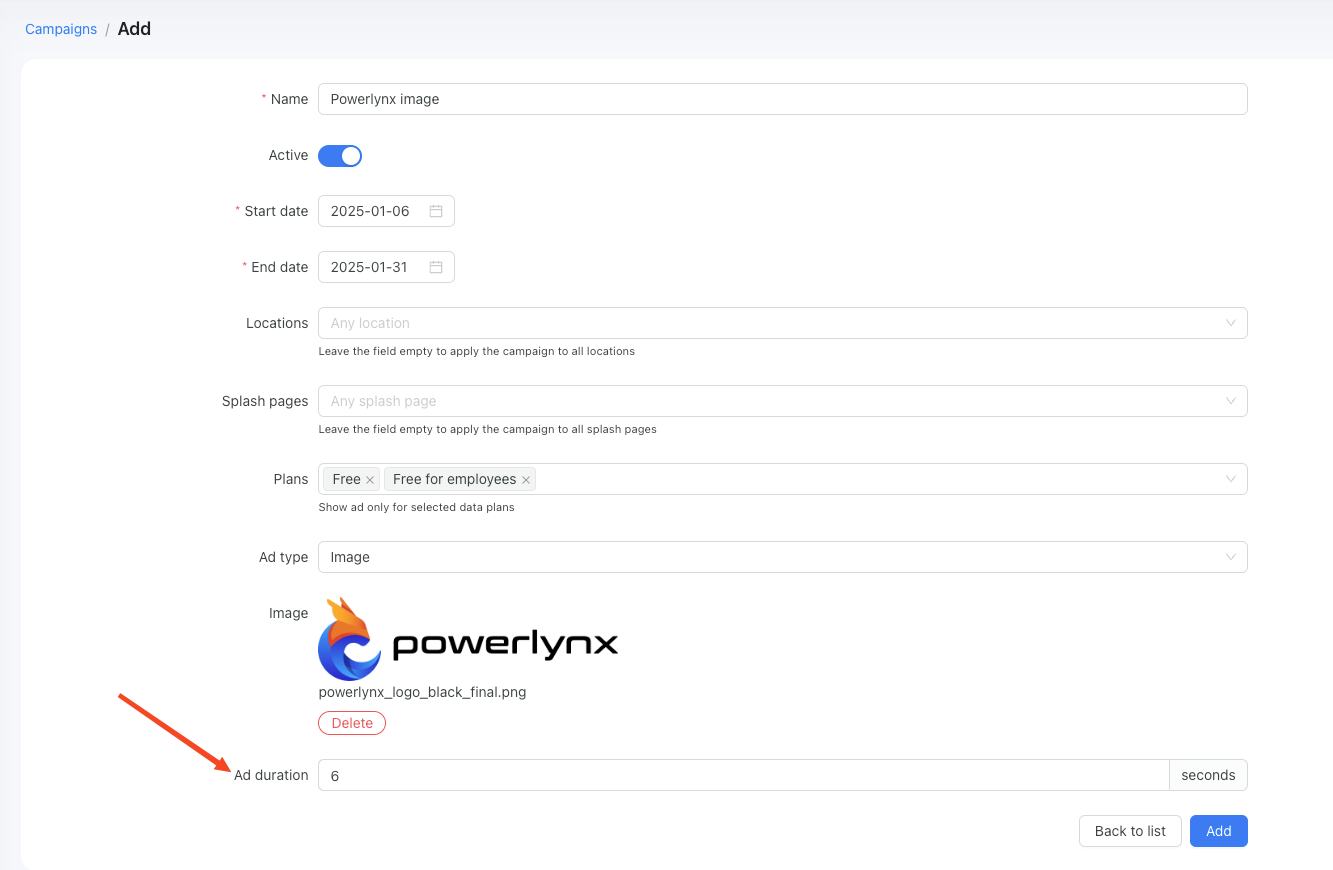
In the same manner as with video ads, after connecting to Wi-Fi, the customer will need to wait for 6 seconds before gaining access to the internet:

You can view your campaign statistics below this counter:
INFO
When multiple advertisements are configured for the same location, they will be displayed to customers in a randomized manner.
Scheduling creatives by time of day
A single ad campaign can hold several creatives (images and/or videos) and show a different one depending on the time of day. This lets you run time-sensitive promotions — a breakfast offer in the morning, a dinner promotion in the evening — from one campaign, without swapping ads by hand. Every campaign also has one fallback creative, shown whenever the current time doesn't fall inside any scheduled window, so there is always something to display.
Adding creatives to a campaign
Open a campaign under Adverts → Campaigns (or click Add) and scroll to the Creatives section.
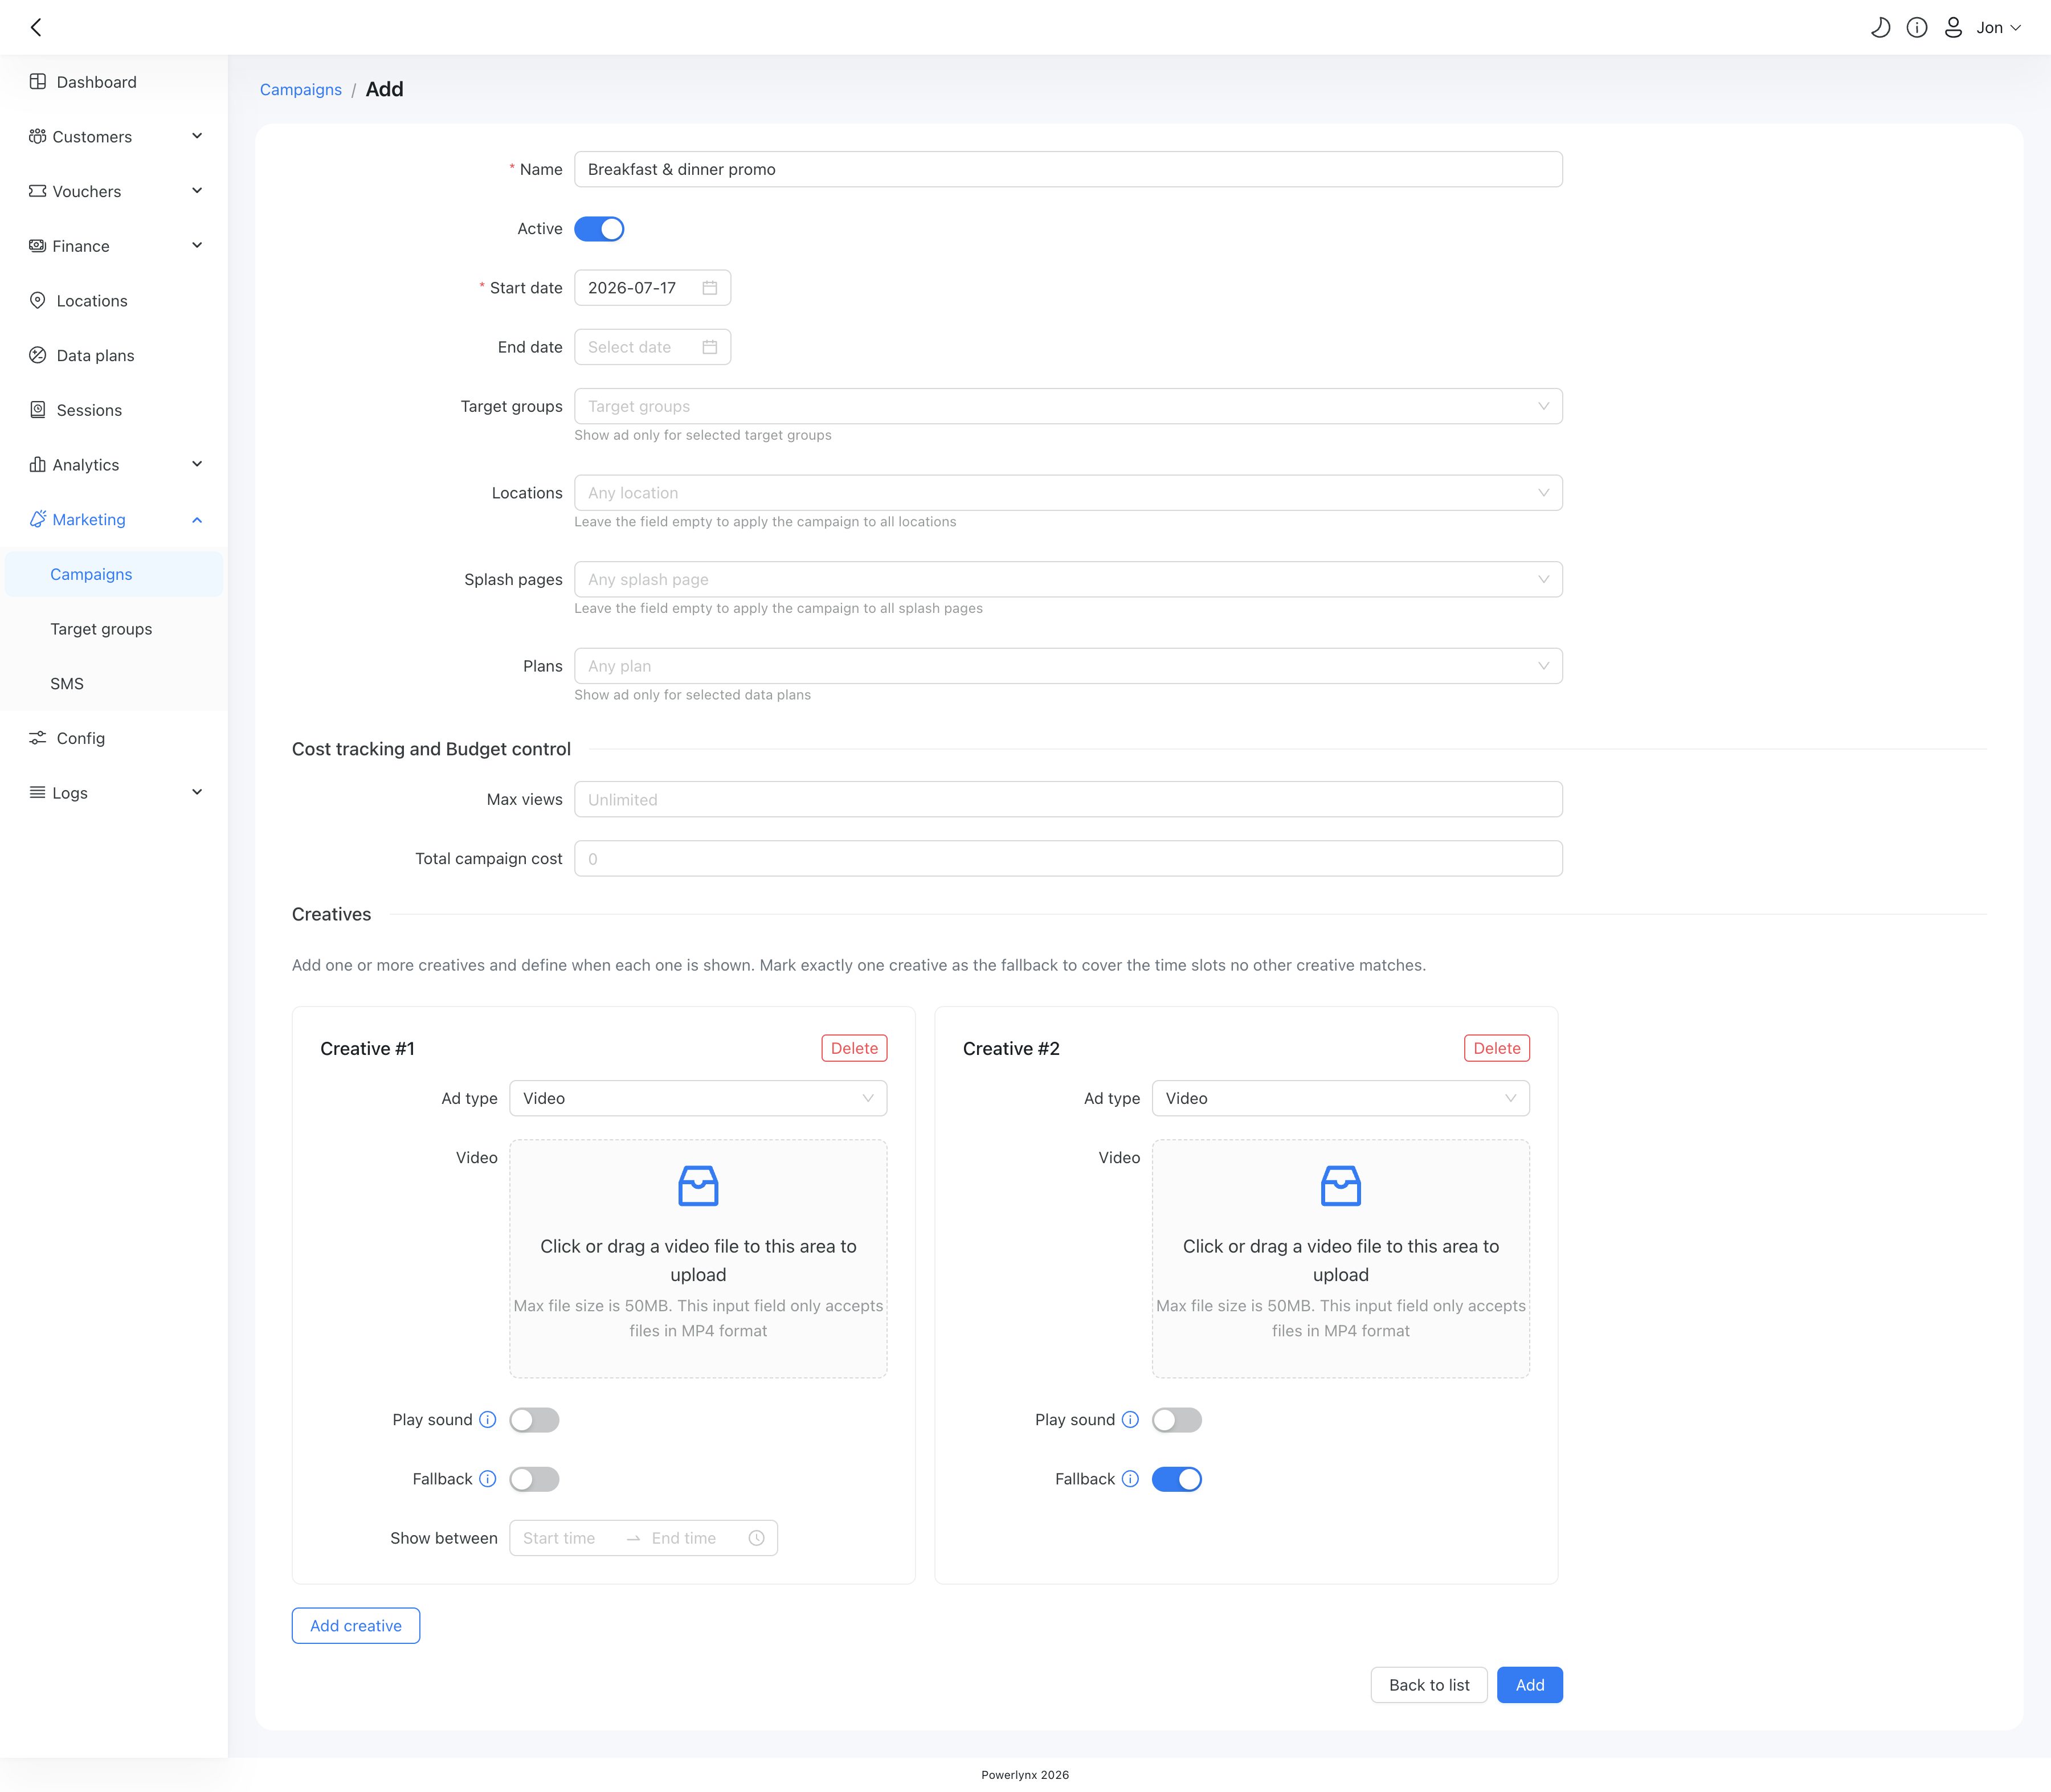
- Each creative appears as its own card (Creative #1, Creative #2, …).
- Use Add creative to add another card, and Delete to remove one — you can't remove the last remaining creative.
- For each creative:
- Ad type — choose Image or Video. The card then shows the matching options (image + display duration, or video + sound toggle).
- Upload the file — an image, or an
mp4video. - Use as fallback — tick this on exactly one creative to make it the default. A fallback has no time window, so ticking it hides the time range.
- Show between — for every other (scheduled) creative, pick the start and end time of its daily window (
HH:mm).
Before the campaign can be saved, the form checks that every creative has an uploaded file, that exactly one creative is marked as the fallback, and that every scheduled creative has both a start and an end time with the start earlier than the end.
How the right creative is chosen
When an ad needs to be shown, Powerlynx selects the creative like this:
- By time — it looks for scheduled creatives whose window covers the current time (in your timezone). If more than one matches, it picks one of them at random, so overlapping creatives rotate.
- Fallback — if no scheduled window matches, the fallback creative is shown.
A few things worth knowing:
- Time windows are start-inclusive and end-exclusive — a
06:00–12:00window runs from06:00up to (but not including)12:00. - Windows don't wrap past midnight — a single creative can't run
22:00 → 02:00. Split it in two, or let the fallback cover the gap. For example, schedule00:00–08:00and08:00–14:00, and the fallback covers the rest of the day (14:00to midnight).
TIP
Use the fallback as your all-day default and add scheduled creatives only for the slots you want to override — any time you don't schedule is automatically covered by the fallback.
Example

Cost tracking and Budget control
When viewing or editing a campaign, you will notice a "Cost tracking and Budget control" section at the bottom of the form:
![]()
This section allows you to set limits and monitor the financial performance of your ad:
- Max views - Sets the maximum number of times the ad will be displayed. Once the limit is reached, the system automatically disables the ad.
- Total campaign cost - Enter the total budget for the campaign. The system will dynamically calculate and update the Cost per view based on the max views (if set) or the current view count.
- Ad view counter - Displays the total number of times the ad has been shown so far.
- Cost per view - Calculated automatically as: total cost ÷ max views (if set) or total cost ÷ current views.