SSO login for administrators
Your administrators can sign in to Powerlynx with your company's own identity provider instead of a separate Powerlynx password. Sign-in, password rules and account deactivation then live where the rest of your company's accounts live — when someone leaves and their directory account is disabled, their access to Powerlynx goes with it.
Powerlynx uses OpenID Connect, so it works with Microsoft Entra ID, Google Workspace, Okta, Keycloak and anything else that speaks the standard. There is nothing provider-specific to install — adding a provider is filling in a form.
You can configure as many providers as you like and have them all enabled at once. Each enabled provider gets its own button on the login page.
INFO
Password login is never switched off. It stays available as your way back in if a client secret expires or your identity provider is unreachable.
Where to find it
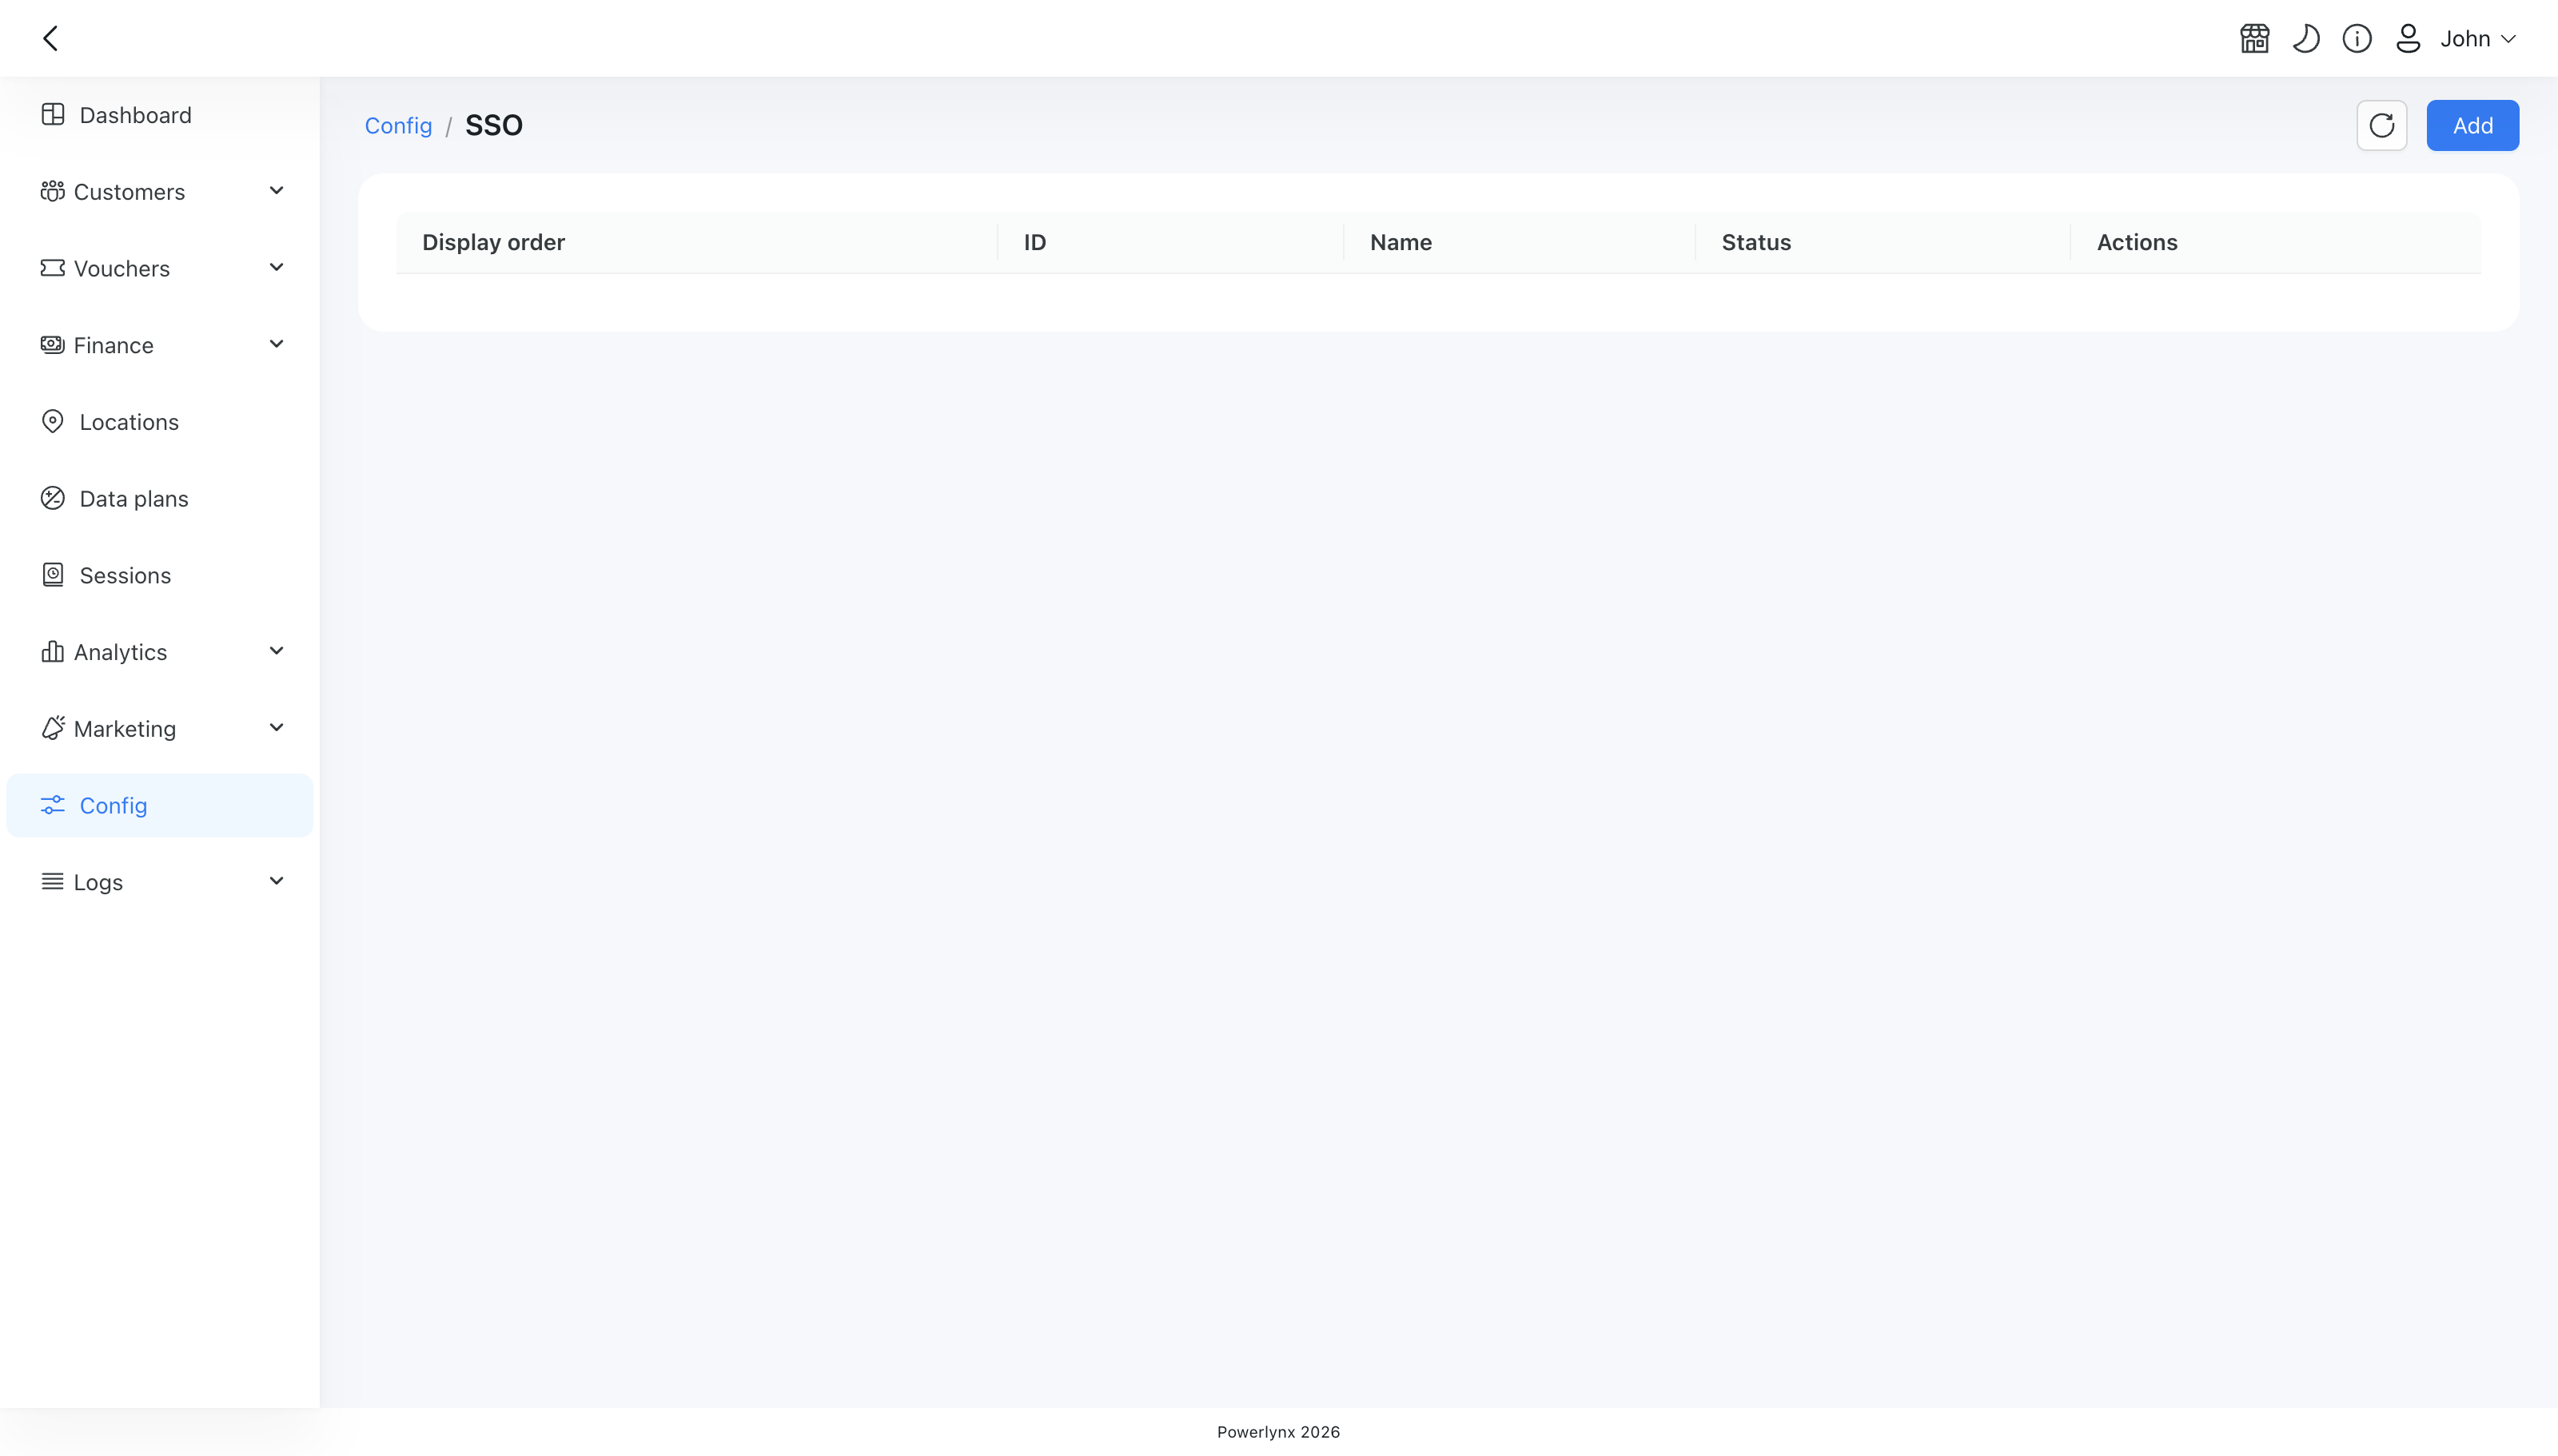
Open Config → System → SSO.
The list shows every provider you have configured, with its name and whether it is enabled. The order of the rows is the order the buttons appear in on the login page — drag a row to move its button.
Adding a provider
Click Add. The form opens with the Redirect URI already filled in, because your identity provider needs it at the moment you register the application there — so you copy it from Powerlynx first, and register the application second.
TIP
The Redirect URI never changes. Renaming the provider later, or reordering the buttons, does not affect it — the value you paste into your identity provider stays valid for as long as the provider exists.
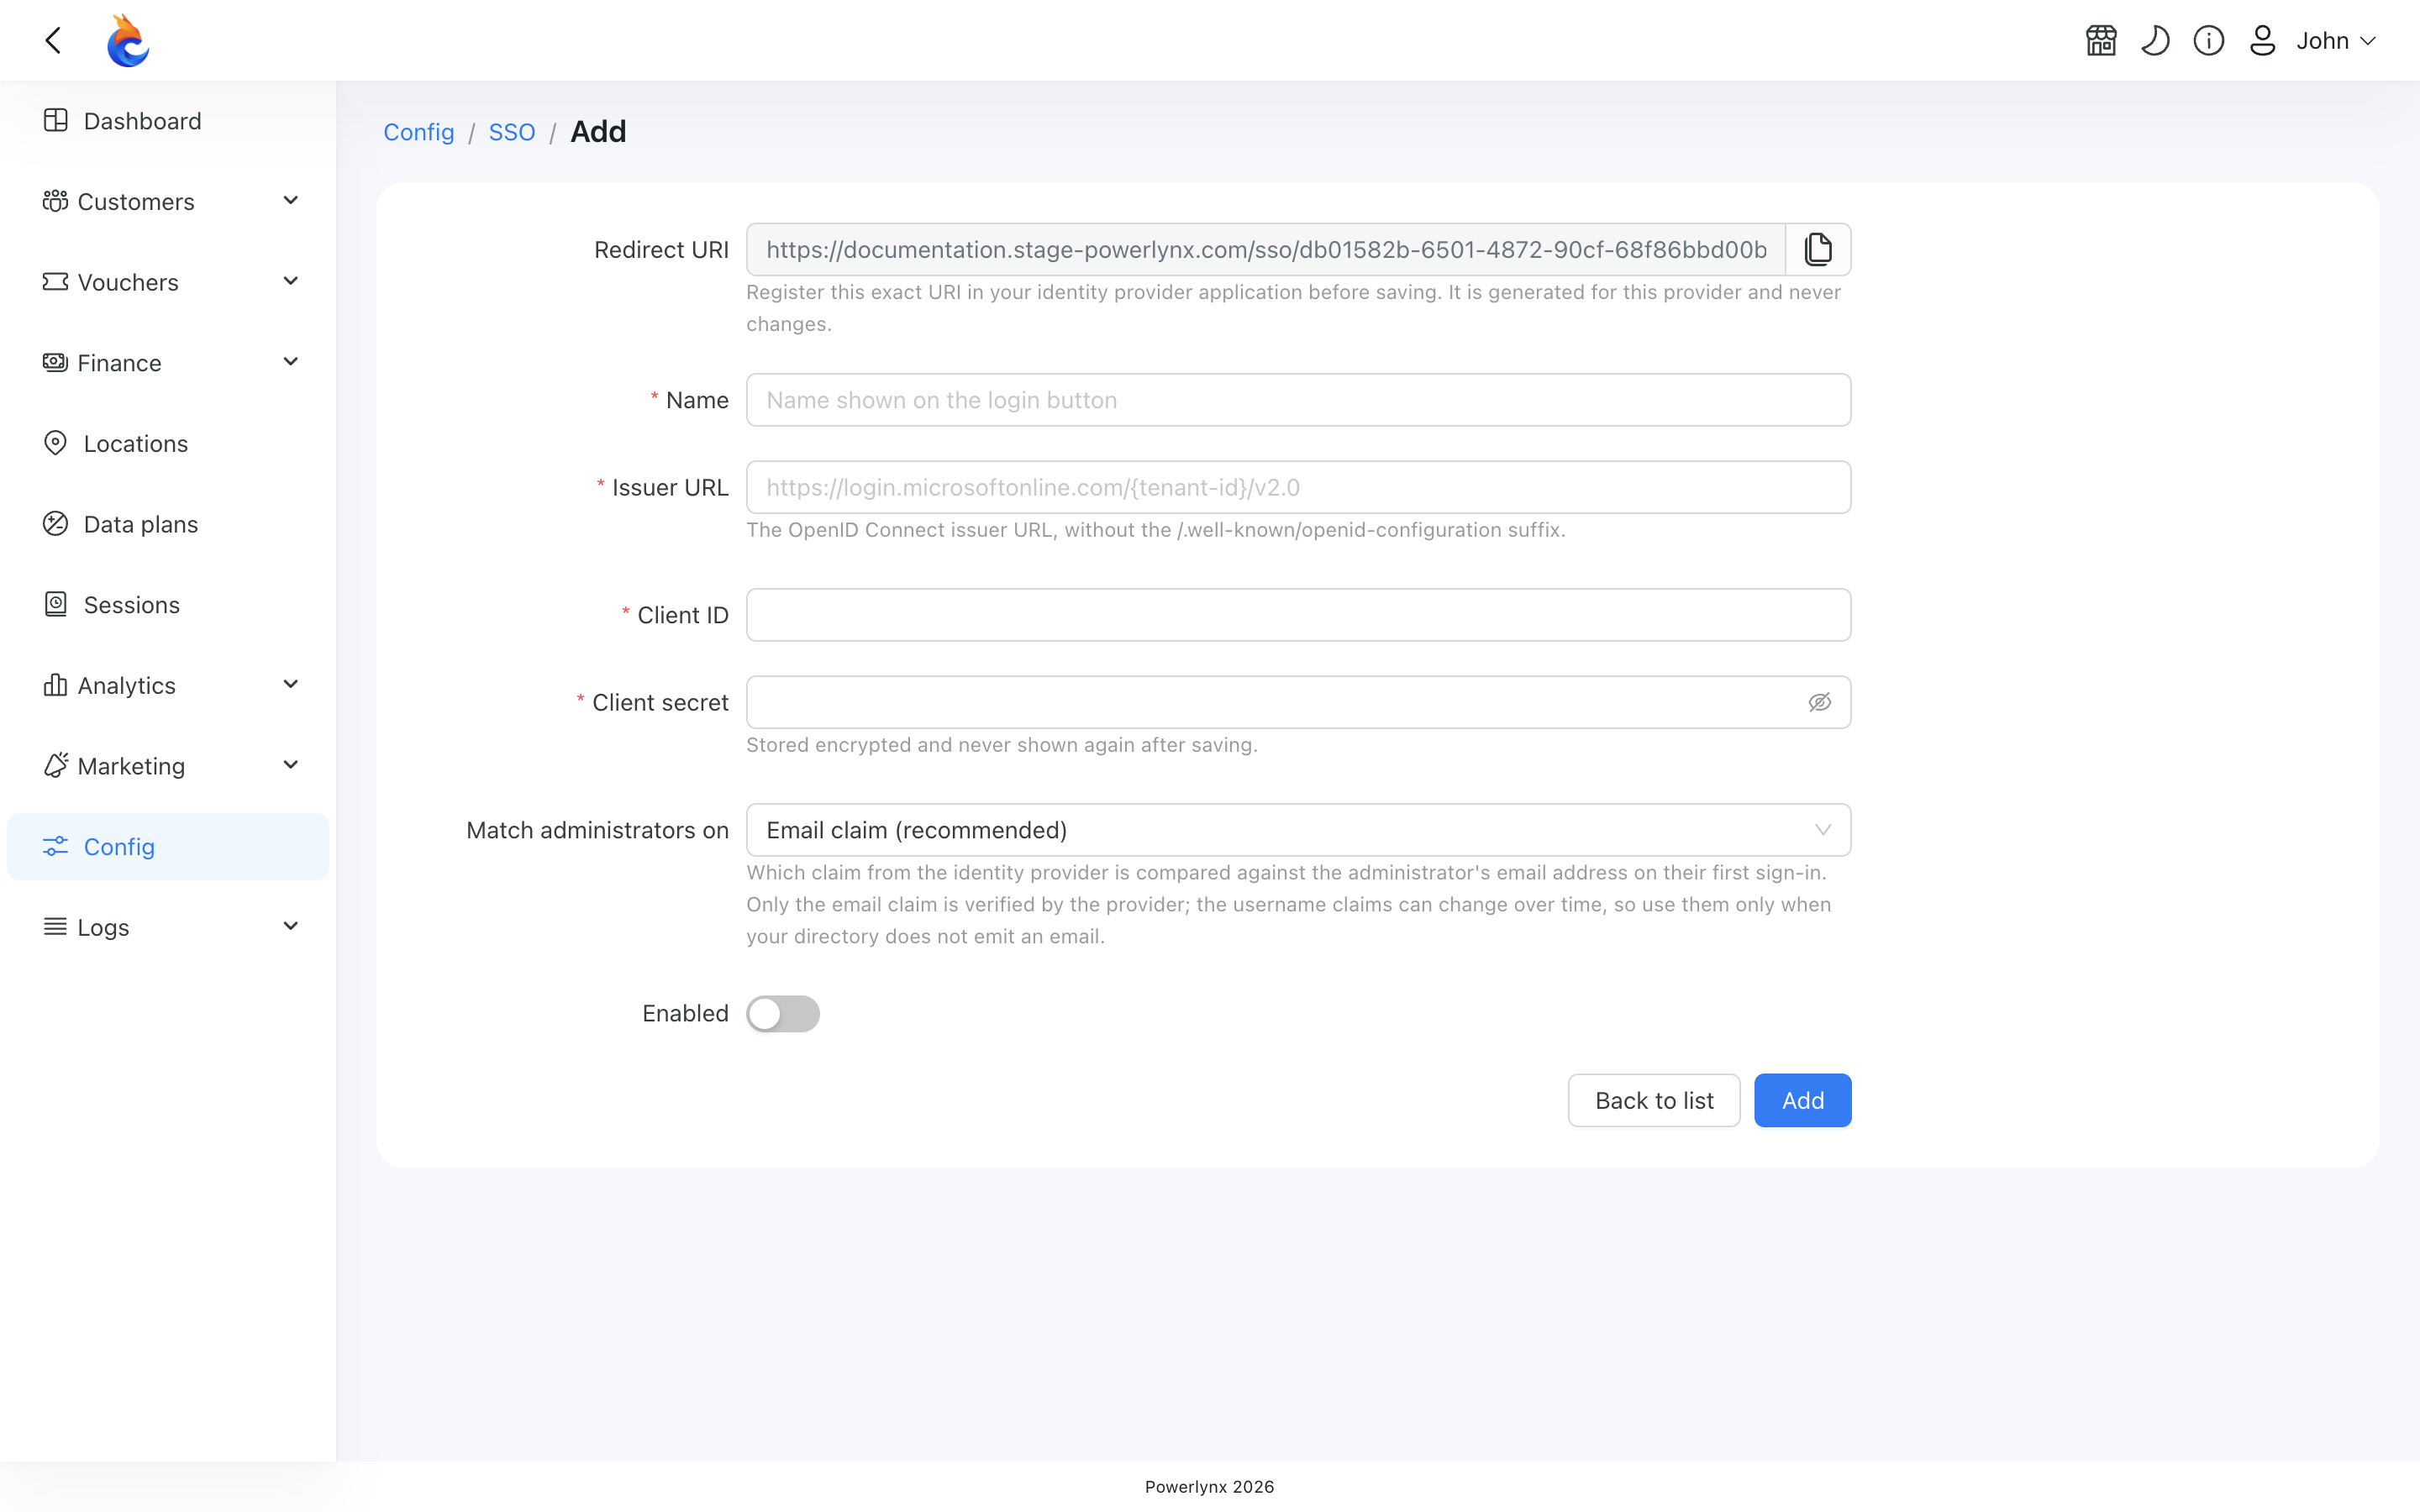
Fill in the rest:
- Redirect URI (read-only) — copy it with the button on the right and register it in your identity provider application.
- Name — the text shown on the login button, for example
Azure. Must be unique. - Issuer URL — your provider's OpenID Connect issuer address. Enter it without the
/.well-known/openid-configurationpart. - Client ID — the application (client) ID from your identity provider.
- Client secret — the secret your identity provider issued. It is stored encrypted and never shown again.
- Match administrators on — which piece of information identifies the administrator the first time they sign in. Leave this on Email claim unless your directory does not send one.
- Enabled — off by default. The button only appears on the login page once you switch this on, so a half-finished provider can never reach your login page.
When you later edit a provider, the secret field is empty and optional. Leaving it empty keeps the secret you already stored, so renaming a provider or changing the button order never means going back to your identity provider for the secret again.
Example: Microsoft Entra ID
- In the Entra admin center, go to Entra ID → App registrations → New registration. Under Supported account types choose "Single tenant only" for a normal company directory.
- Go to Authentication → Add a platform → Web and paste the Redirect URI you copied from Powerlynx. It must match exactly. You do not need to tick "ID tokens (used for implicit and hybrid flows)".
- Go to Certificates & secrets → Client secrets → New client secret. Copy the value immediately — Entra shows it once and never again. Entra also caps the lifetime at 24 months, so note when it expires.
- From the Overview page, copy the Application (client) ID and the Directory (tenant) ID.
- Back in Powerlynx, set the Issuer URL to
https://login.microsoftonline.com/{directory-tenant-id}/v2.0, and fill in the client ID and secret.
WARNING
The most common setup failure is a directory that does not send the administrator's email address. If that happens, the sign-in is refused with an error naming the missing claim. The best fix is to fill in the user's mail attribute in your directory. If that is not possible, switch Match administrators on to a username claim instead.
Signing in
Each enabled provider shows its own button on the login page, below the usual email and password fields, in the order you set in the list.
An administrator clicks the button, signs in with your identity provider, and comes back to Powerlynx already logged in. The first time they do this, Powerlynx links that external identity to their existing administrator account by matching on the claim you chose.
Reviewing and removing access
Open any administrator's card and you will find a Linked SSO accounts block. It lists each provider that administrator can sign in through, the account id on that provider's side, and when they last used it. Each row has an unlink action.
Unlinking removes that sign-in route for that administrator. Their Powerlynx account and password login are unaffected. An administrator who has never signed in through SSO simply sees an empty block.